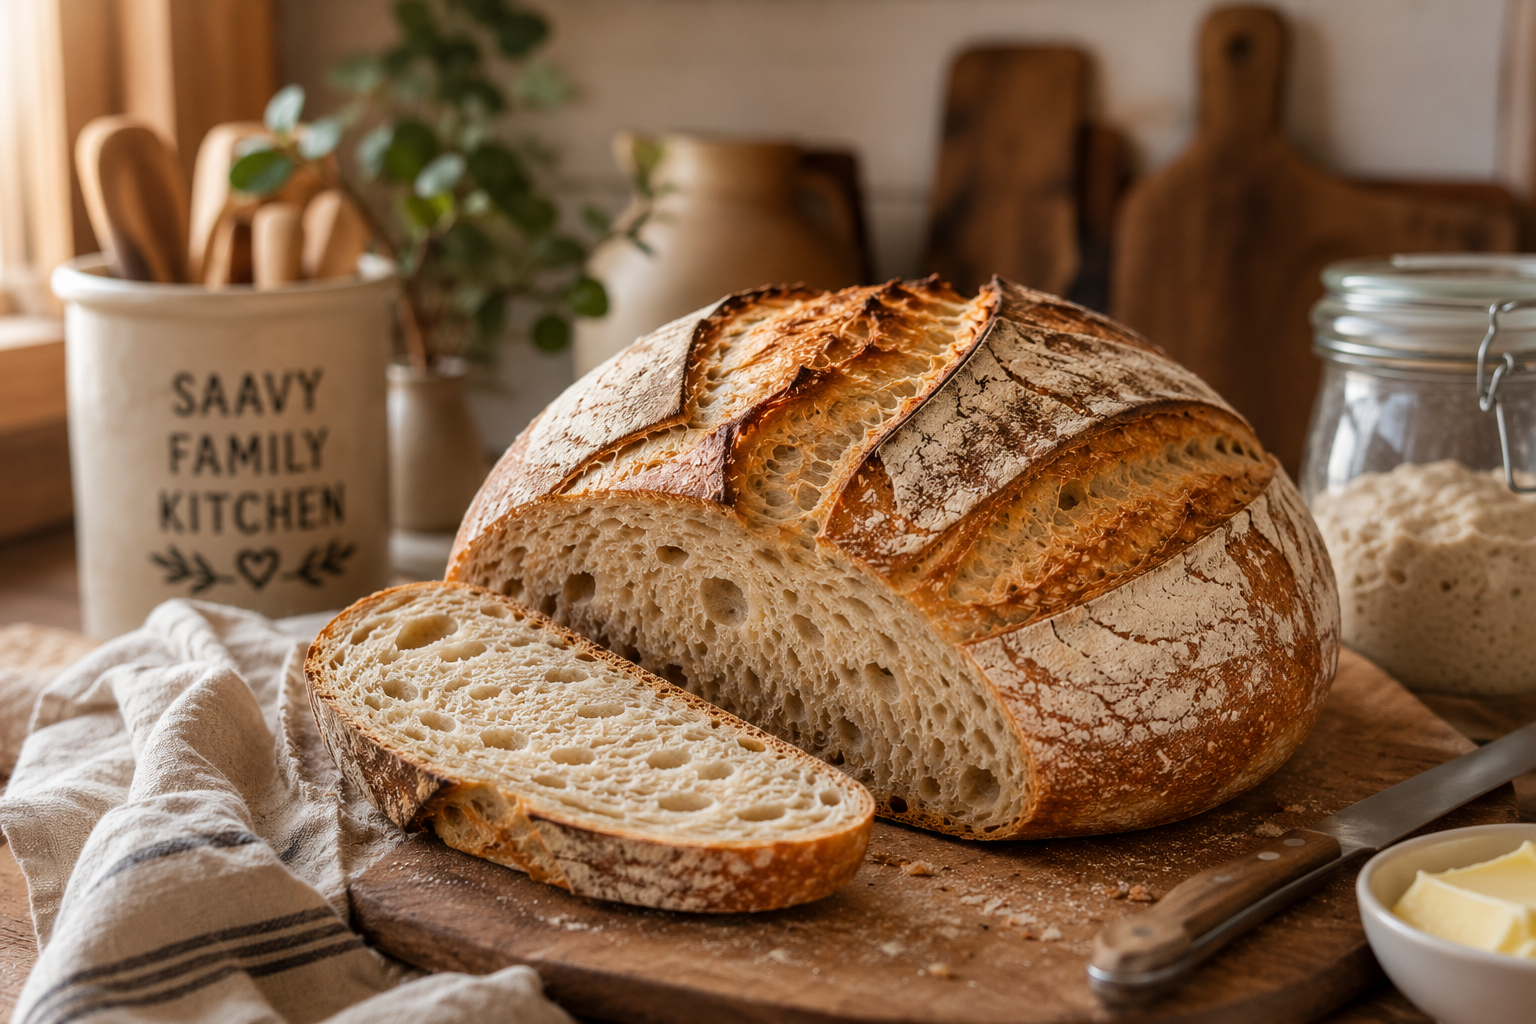
There’s something deeply satisfying about baking your own sourdough bread at home – the crackly golden crust, the soft chewy centre, and that unmistakable tangy flavour that only a true sourdough starter can create. This easy homemade sourdough bread recipe is perfect if you’re ready to move beyond basic bread and try something a little more rewarding.
Made with just a few simple ingredients, this recipe walks you through how to create bakery-style sourdough bread right in your own kitchen. Whether you’re a beginner or looking to refine your technique, you’ll learn how to get that beautiful rise, perfect texture, and signature sourdough flavour without the guesswork.
If you’ve been searching for a reliable sourdough bread recipe that actually works, this is the one you’ll come back to again and again. Oh…and in search of a tribe of ‘your people?’…it’s amazing what a simple conversation on growing your own sourdough starter can begin!
Quick Snapshot
- Yield: 1 large loaf (approx. 10–12 slices)
- Prep Time: 20 minutes
- Cook Time: 40–45 minutes
- Total Time: 12–24 hours (includes fermentation + proofing)
- Total Cost to Make: ~$2.80 AUD per loaf (Estimated)
- Cost Per Serve: ~$0.25 per slice (depending on flour + starter use)
- Serving Size: 1 slice (perfect for toast, sandwiches, or dipping in soups)
- Key Takeaway: This homemade sourdough bread delivers bakery-style results on a budget, using just a few simple pantry staples. While it takes time to ferment and rise, the process is low effort and highly rewarding, giving you a crusty artisan loaf with a soft, chewy centre that’s far cheaper (and fresher) than store-bought sourdough.

Why This Easy Sourdough Loaf Recipe Works!
This sourdough bread works because it relies on a natural fermentation process that slowly develops flavour, structure, and texture over time. Instead of using commercial yeast for a quick rise, the wild yeast in your sourdough starter works gradually, creating that signature tangy taste and airy, open crumb.
The long fermentation also helps break down the gluten in the flour, making the bread easier to digest while improving its depth of flavour. As the dough rests and develops, the gluten strengthens through a series of folds, which is what gives the loaf its chewy texture and ability to hold those beautiful air pockets.
Baking at a high temperature creates steam inside the dough at the start, helping the loaf rise fully before the crust sets. This is what gives you that crisp, golden crust on the outside while keeping the inside soft and fluffy.
In short, this method works because time does most of the heavy lifting – developing flavour, structure, and that classic artisan sourdough finish you just can’t rush.
If you love this homemade sourdough bread, you’ll find plenty more baking inspiration in our Artisan Breads collection – perfect for creating bakery-style loaves, rustic favourites, and budget-friendly homemade breads right from your own kitchen.
Budget Breakdown – What it Costs to Make this Recipe
Making sourdough at home is surprisingly affordable once you already have an active starter, with most of the cost coming down to flour and a small amount of salt.
Estimated Ingredient Cost in Australia as at May 31, 2026 – $2.80 per loaf, about $0.25 per slice
| Ingredient | Quantity | Estimated Cost |
| Strong Bread Flour | 500g | $1.20-$2.00 |
| Salt | 10g | $0.10 |
| Lukewarm Water | 350g | $0.00 |
| Sour Dough Starter | 100g | $0.70 |
* Disclaimer: Ingredient costs are approximate and based on average Australian supermarket prices as at the date published. Actual costs may vary depending on store, location, brand and seasonal pricing. Provided for estimation purposes only and Saavy Family Kitchen takes no responsibility for the usage of these estimates.
Easy Homemade Sourdough Bread (Crispy Crust & Soft Chewy Crumb)
Ingredients
Method
- Feed your starter – Ensure your sourdough starter is active, bubbly, and has doubled in size before you begin. This is key for a good rise.
- Mix the dough – In a large bowl, combine the bread flour and water. Mix until no dry flour remains. Cover and let it rest for 30–60 minutes (autolyse).
- Add starter and salt – Add the active sourdough starter and salt to the dough. Mix well until fully incorporated and the dough becomes sticky and elastic.
- First rise (bulk fermentation) – Cover the dough and let it rise at room temperature for 4–6 hours. During this time, perform 3–4 sets of stretch and folds every 30–60 minutes to build structure.
- Shape the dough – Once the dough has risen and is airy, turn it onto a lightly floured surface. Shape it into a round or oval loaf depending on your banneton or bowl.
- Final proof – Place the shaped dough into a floured banneton or bowl. Cover and refrigerate for 8–12 hours (or overnight) for slow fermentation and better flavour.
- Preheat oven – Preheat oven to 230°C (450°F). Place a Dutch oven inside while it heats for at least 30 minutes.
- Score and bake – Carefully turn the dough onto baking paper, score the top with a sharp knife or blade, and transfer into the hot Dutch oven. Bake covered for 20 minutes, then uncover and bake for another 20–25 minutes until golden brown.
- Cool before slicing – Remove from oven and let the bread cool on a wire rack for at least 1 hour before slicing to set the crumb properly.
Notes
- Your sourdough starter should be active and bubbly before using it—this is the most important factor for a good rise. If it hasn’t doubled after feeding, it’s not ready yet.
- Fermentation times can vary depending on room temperature. Warmer kitchens will speed things up, while cooler environments may take longer. Watch the dough, not the clock.
- The dough should feel soft, elastic, and slightly sticky during the stretch and fold stage. Don’t be tempted to add too much extra flour.
- Cold proofing overnight in the fridge improves flavour, texture, and makes the dough easier to score and handle.
- Always allow the bread to cool fully before slicing – cutting too early can result in a gummy texture inside.
- For best results, bake in a preheated Dutch oven to create steam, which helps achieve that crisp, bakery-style crust.
- This loaf is best eaten within 2–3 days, but it also freezes well once fully cooled and sliced.
Tips for Perfect Homemade Sourdough Bread
Start with a Strong, Active Starter
Your starter should be bubbly, active, and at least doubled in size after feeding. A weak starter is the most common reason for dense or flat sourdough loaves.
Pay Attention to Temperature
Sourdough fermentation is heavily influenced by room temperature. Warmer kitchens speed up the process, while cooler kitchens slow it down. If your dough seems sluggish, it may simply need more time.
Don’t Skip the Stretch and Folds
Stretch and folds help develop gluten strength without intensive kneading. They create the structure needed for a lofty loaf with an airy crumb.
Be Patient with Fermentation
One of the biggest secrets to great sourdough is allowing enough time for fermentation. Rushing the process can result in a dense loaf with less flavour.
Cold Proof Overnight
An overnight proof in the fridge improves flavour, texture, and crust development while making the dough easier to score before baking.
Preheat Your Dutch Oven Properly
A thoroughly heated Dutch oven creates steam during the first stage of baking, helping the loaf achieve maximum oven spring and a beautifully crisp crust.
Score with Confidence
A clean, decisive score helps control how the bread expands in the oven and can prevent the loaf from splitting unpredictably.
Cool Completely Before Slicing
Fresh bread smells amazing, but cutting into it too early can leave the crumb gummy. Allow at least one hour of cooling time for the best texture.
Use Kitchen Scales for Accuracy
Sourdough baking is far more consistent when ingredients are weighed rather than measured by cups. Even small variations can affect hydration and fermentation.
Freeze Extra Slices
Once fully cooled, slice and freeze any leftovers. Individual slices can be toasted straight from the freezer, making homemade sourdough convenient for busy mornings.
Variations You Can Try
🌾 Whole Wheat Sourdough
Replace up to 30–50% of the bread flour with whole wheat flour for a heartier loaf with a richer, nuttier flavour. You may need to add a little extra water as whole wheat flour absorbs more moisture.
🧄 Roasted Garlic Sourdough
Fold roasted garlic cloves into the dough during the final stretch and fold for a savoury loaf that’s perfect with soups, pasta dishes, or simply spread with butter.
🧀 Cheese Sourdough
Add 100–150g of grated cheddar, parmesan, or your favourite hard cheese during shaping for a delicious cheesy twist.
🌿 Herb and Garlic Sourdough
Mix dried rosemary, thyme, oregano, or mixed herbs into the dough for an artisan-style bread packed with flavour.
🫒 Olive Sourdough
Fold sliced olives into the dough during fermentation for a Mediterranean-inspired loaf that pairs beautifully with antipasto platters.
🌰 Seeded Sourdough
Add sunflower seeds, pumpkin seeds, sesame seeds, or flaxseeds for extra texture, flavour, and nutrition.
🍇 Fruit and Nut Sourdough
Try adding dried cranberries, raisins, walnuts, or pecans for a slightly sweet loaf that’s ideal for breakfast or cheese boards.
🌶️ Jalapeño and Cheese Sourdough
For a little heat, add sliced jalapeños and grated cheese to create a flavour-packed loaf that’s fantastic toasted.
🍯 Honey Oat Sourdough
Add a tablespoon of honey and a handful of rolled oats for a softer loaf with a subtle sweetness.
🌾 Mixed Grain Sourdough
Incorporate rye flour, spelt flour, or multigrain flour into part of the flour mix for a more complex flavour and rustic texture.
Why Your Homemade Sourdough Loaf Might Not Turn Out (Common Mistakes)
Even simple sourdough recipes can be affected by fermentation, temperature, and dough handling. If your loaf doesn’t turn out quite right, here are some common reasons why.
Your Starter Wasn’t Active Enough
A weak or underfed starter won’t produce enough natural yeast activity to properly raise the dough. Always use a starter that is bubbly, active, and has doubled in size after feeding.
The Dough Was Underproofed
If the dough hasn’t fermented long enough, the loaf may turn out dense, heavy, or have a tight crumb. Underproofed dough often lacks volume and doesn’t spring well in the oven.
The Dough Was Overproofed
Leaving the dough to ferment for too long can weaken the gluten structure. This can result in a flat loaf that spreads instead of rising and may have a sour, overly fermented flavour.
Too Much Extra Flour Was Added
Sourdough dough is naturally sticky. Adding too much flour during mixing or shaping can reduce hydration and lead to a dry, dense loaf.
Stretch and Folds Were Skipped
Stretch and folds help develop gluten strength and structure. Without them, the dough may struggle to hold its shape and produce the open crumb sourdough is known for.
The Kitchen Was Too Cold
Fermentation slows significantly in cooler temperatures. If your kitchen is cold, the dough may simply need more time to rise than the recipe suggests.
The Oven Wasn’t Hot Enough
Sourdough benefits from high baking temperatures. An oven that isn’t fully preheated can prevent proper oven spring and result in a pale crust.
The Dutch Oven Wasn’t Preheated
A hot Dutch oven creates the steam needed for a crisp crust and strong rise. Starting with a cold Dutch oven can affect both texture and appearance.
The Bread Was Cut Too Soon
Freshly baked sourdough continues setting internally as it cools. Slicing too early can create a gummy or doughy texture even if the loaf is fully baked.
Measurements Were Inaccurate
Sourdough baking is most successful when ingredients are weighed rather than measured by volume. Small differences in flour or water can significantly affect hydration and dough performance.
Remember
Sourdough baking is a skill that improves with practice. Every kitchen, starter, and environment is slightly different, so don’t be discouraged if your first loaf isn’t perfect. Each bake teaches you something new and gets you closer to consistently producing beautiful homemade sourdough bread.
Storage & Reheating
One of the best things about homemade sourdough bread is that it keeps well without preservatives. Proper storage will help maintain its texture and flavour for as long as possible.
Storing at Room Temperature
Once completely cooled, store your sourdough bread in a bread box, paper bag, or wrapped loosely in a clean tea towel. This helps preserve the crust while preventing the loaf from drying out too quickly.
Stored correctly, homemade sourdough bread will stay fresh for around 2–4 days at room temperature.
Avoid storing sourdough in the refrigerator, as this can cause the bread to stale more quickly.
Freezing
Sourdough freezes exceptionally well. Allow the loaf to cool completely before freezing.
You can:
- Freeze the entire loaf.
- Freeze half a loaf.
- Slice the bread first and freeze individual slices for easy use.
Wrap well in plastic wrap, reusable freezer wrap, or an airtight freezer bag before freezing.
The bread can be frozen for up to 3 months.
Reheating a Whole Loaf
To refresh a whole loaf, place it in a preheated 180°C oven for 10–15 minutes. This helps restore the crust and brings back that fresh-baked texture.
Reheating Individual Slices
Frozen or room-temperature slices can be:
- Toasted in a toaster.
- Heated under a grill.
- Warmed in a sandwich press.
Best Ways to Use Leftover Sourdough
If your bread starts to become slightly stale, don’t throw it away. Leftover sourdough is perfect for:
- Homemade croutons
- Garlic bread
- Breadcrumbs
- French toast
- Bread pudding
- Toasties and grilled sandwiches
With proper storage, every slice can be enjoyed and very little goes to waste.
FAQ – Homemade Sourdough Bread
Can I make sourdough bread without a Dutch oven?
Yes. While a Dutch oven helps create steam for a crisp crust and better oven spring, you can bake sourdough on a baking stone or tray. Place a heatproof tray of hot water in the oven during baking to create steam.
How do I know when my sourdough starter is ready to use?
A healthy starter should be bubbly, active, and roughly doubled in size after feeding. A simple test is to place a small spoonful in water—if it floats, it’s generally ready to bake with.
Why is my sourdough bread dense?
Dense sourdough is often caused by an inactive starter, underproofing, overproofing, or insufficient gluten development. Making sure your starter is strong and allowing adequate fermentation time usually solves the problem.
Why didn’t my bread rise in the oven?
Poor oven spring can result from weak starter activity, overproofing, underproofing, or baking in an oven that isn’t fully preheated. A properly heated Dutch oven can also make a significant difference.
Can I use plain flour instead of bread flour?
You can, but bread flour is recommended because its higher protein content develops stronger gluten, resulting in a better rise and chewier texture. Plain flour may produce a softer, less structured loaf.
How sour should sourdough bread taste?
The flavour can range from mildly tangy to quite sour depending on your starter, fermentation time, and proofing conditions. Longer cold fermentation generally produces a stronger sour flavour.
How long does homemade sourdough bread last?
When stored correctly at room temperature, sourdough bread typically stays fresh for 2–4 days. It can also be frozen for up to 3 months.
Can I freeze sourdough bread?
Yes. Sourdough freezes very well. You can freeze the whole loaf or individual slices, making it easy to thaw only what you need.
Do I need to knead sourdough dough?
Traditional sourdough relies more on stretch and folds than kneading. These folds help build gluten strength while maintaining the airy texture sourdough is known for.
Why is my sourdough gummy inside?
A gummy crumb is often caused by underbaking, cutting the bread before it has fully cooled, or issues with fermentation. Always allow the loaf to cool for at least one hour before slicing.
Can beginners make sourdough bread successfully?
Absolutely. While sourdough requires patience and practice, it doesn’t require advanced baking skills. Following a reliable recipe and learning how your starter behaves will quickly build confidence and consistency.
Saavy Budget-friendly Ideas
Making sourdough bread at home is already budget-friendly, but there are a few simple ways to stretch your ingredients further and reduce costs even more without compromising quality.
Use One Starter for Multiple Bakes
Your sourdough starter can be maintained indefinitely with minimal flour and water. Instead of buying commercial yeast or specialty mixes, one starter can be used for countless loaves, pizza dough, pancakes, and more.
Buy Flour in Bulk
Strong bread flour is the biggest cost in sourdough baking. Buying larger bags from warehouse stores or supermarket bulk packs significantly reduces the cost per loaf over time.
Repurpose Discard Starter
Instead of throwing away sourdough discard, use it in other budget-friendly recipes like:
- Pancakes or waffles
- Flatbreads
- Crackers
- Muffins
This helps reduce food waste while getting more value from every feed.
Bake More Than One Loaf at a Time
Once your dough is prepared, consider doubling the batch and baking multiple loaves. This reduces energy costs per loaf and gives you extra bread to freeze for later.
Use Basic Pantry Ingredients
Sourdough only requires flour, water, and salt. Avoid unnecessary add-ins for everyday baking to keep costs low, and save variations like cheese or nuts for occasional treats.
Freeze for Long-Term Savings
Slice and freeze extra bread to avoid waste. This means you always have homemade bread on hand without needing to buy store-bought loaves during the week.
Make It a Weekly Baking Routine
Batch baking once a week helps reduce oven usage frequency and makes it easier to plan meals around fresh homemade bread, saving both time and money.
Turn Stale Bread into New Meals
Instead of wasting leftover bread, repurpose it into meals like croutons, toasties, breadcrumbs, or French toast. This stretches every loaf further and maximises value.
Stick With Simple Recipes First
Mastering a basic sourdough loaf before experimenting with add-ins helps avoid ingredient waste and builds confidence without extra cost.
You Might Also Like:
- Loaded Nachos Casserole
- Garlic Parmesan Chicken Alfredo
- Roasted Carrot, Hallouni & Farro Salad
- One Pan Honey Mustard Chicken
If you enjoyed making this sourdough bread, you’ll find plenty more homemade baking ideas across the site. From soft and fluffy everyday breads to easy budget-friendly recipes, there’s something for every skill level and kitchen.
You might also like exploring our Easy Family Dinners collection for simple meal ideas that pair perfectly with fresh homemade bread, or our Budget-Friendly Recipes for more ways to cook delicious meals without overspending.
For more baking inspiration, head over to our Artisan Breads collection, where you’ll find rustic loaves, no-knead recipes, and bakery-style favourites you can make at home.