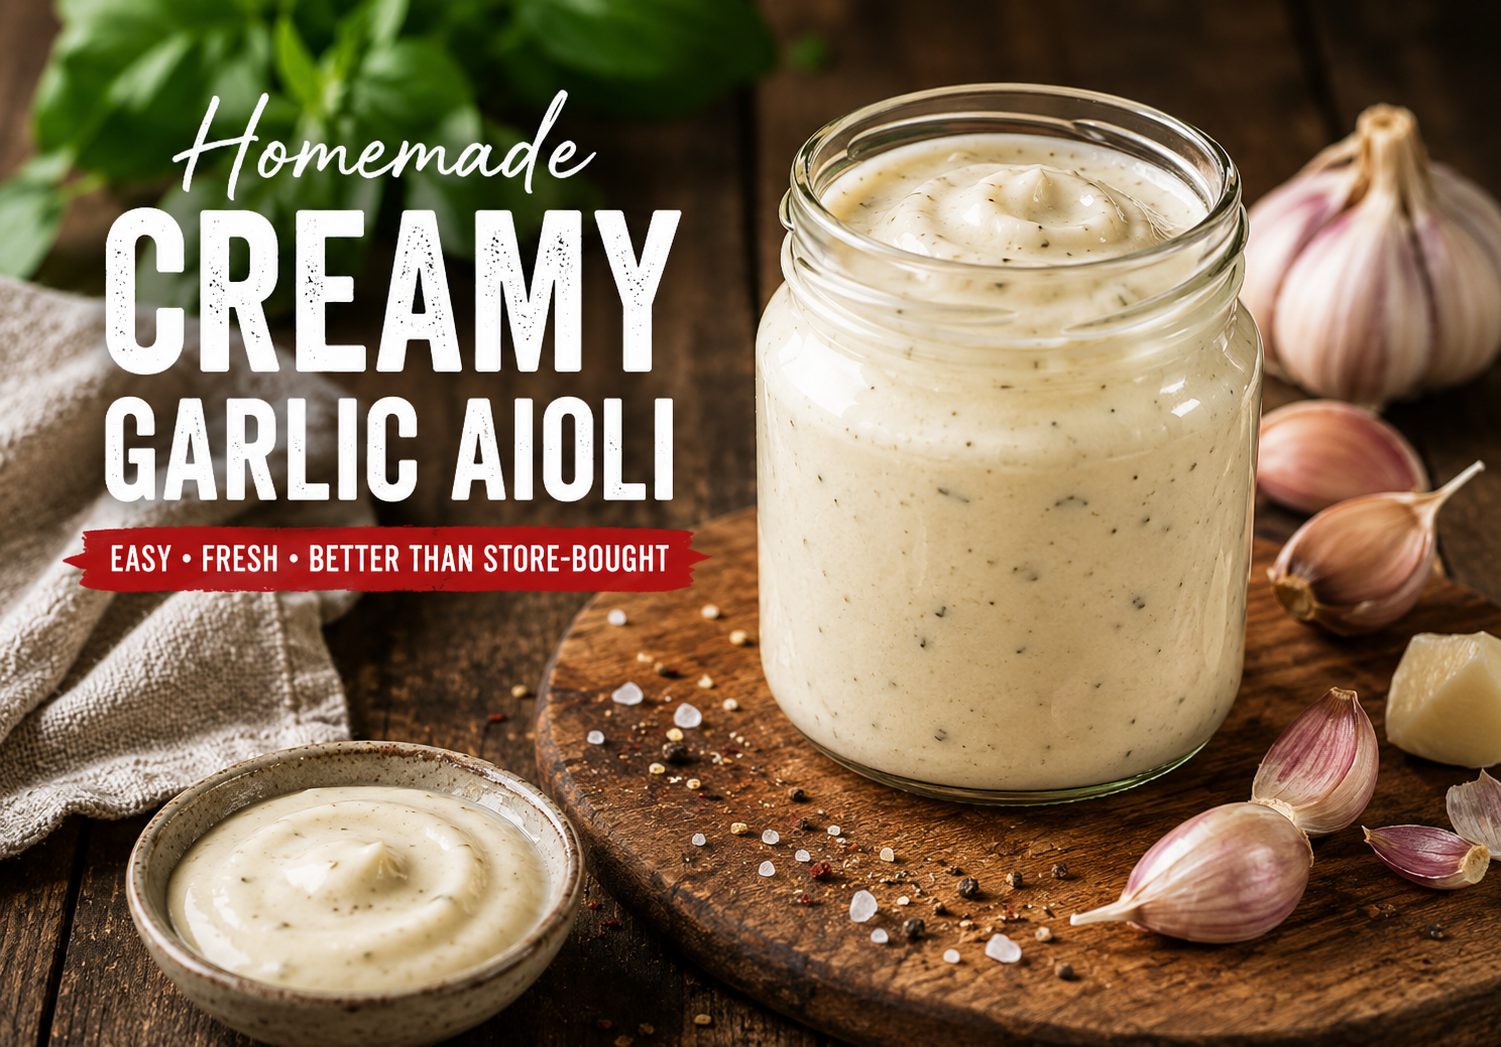
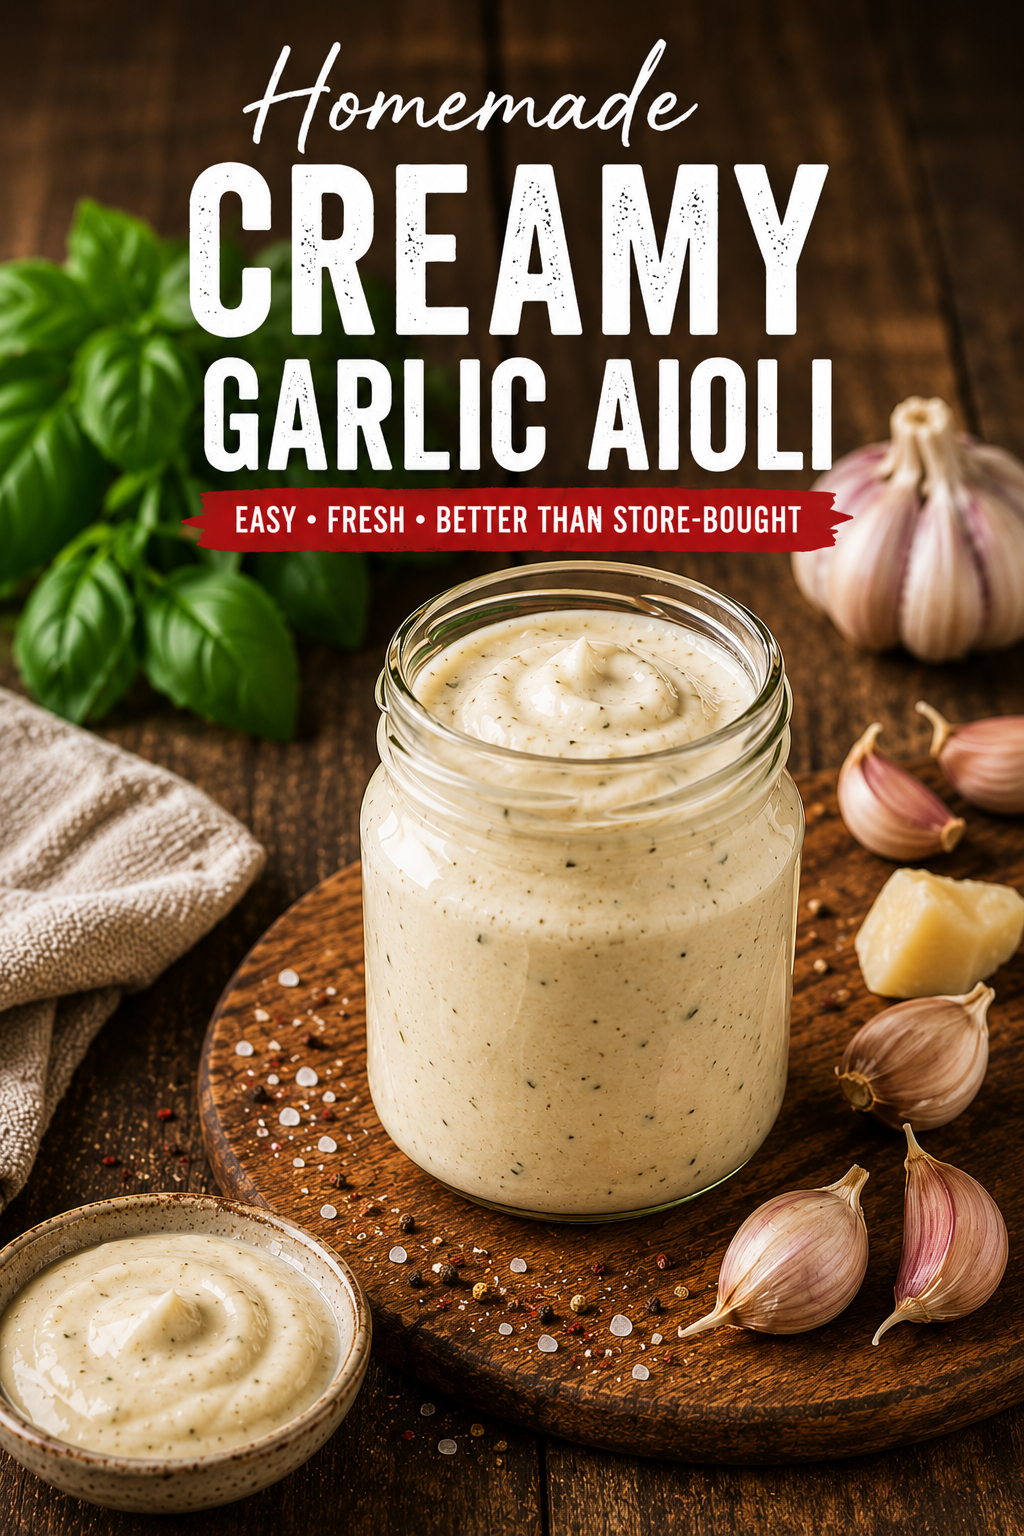
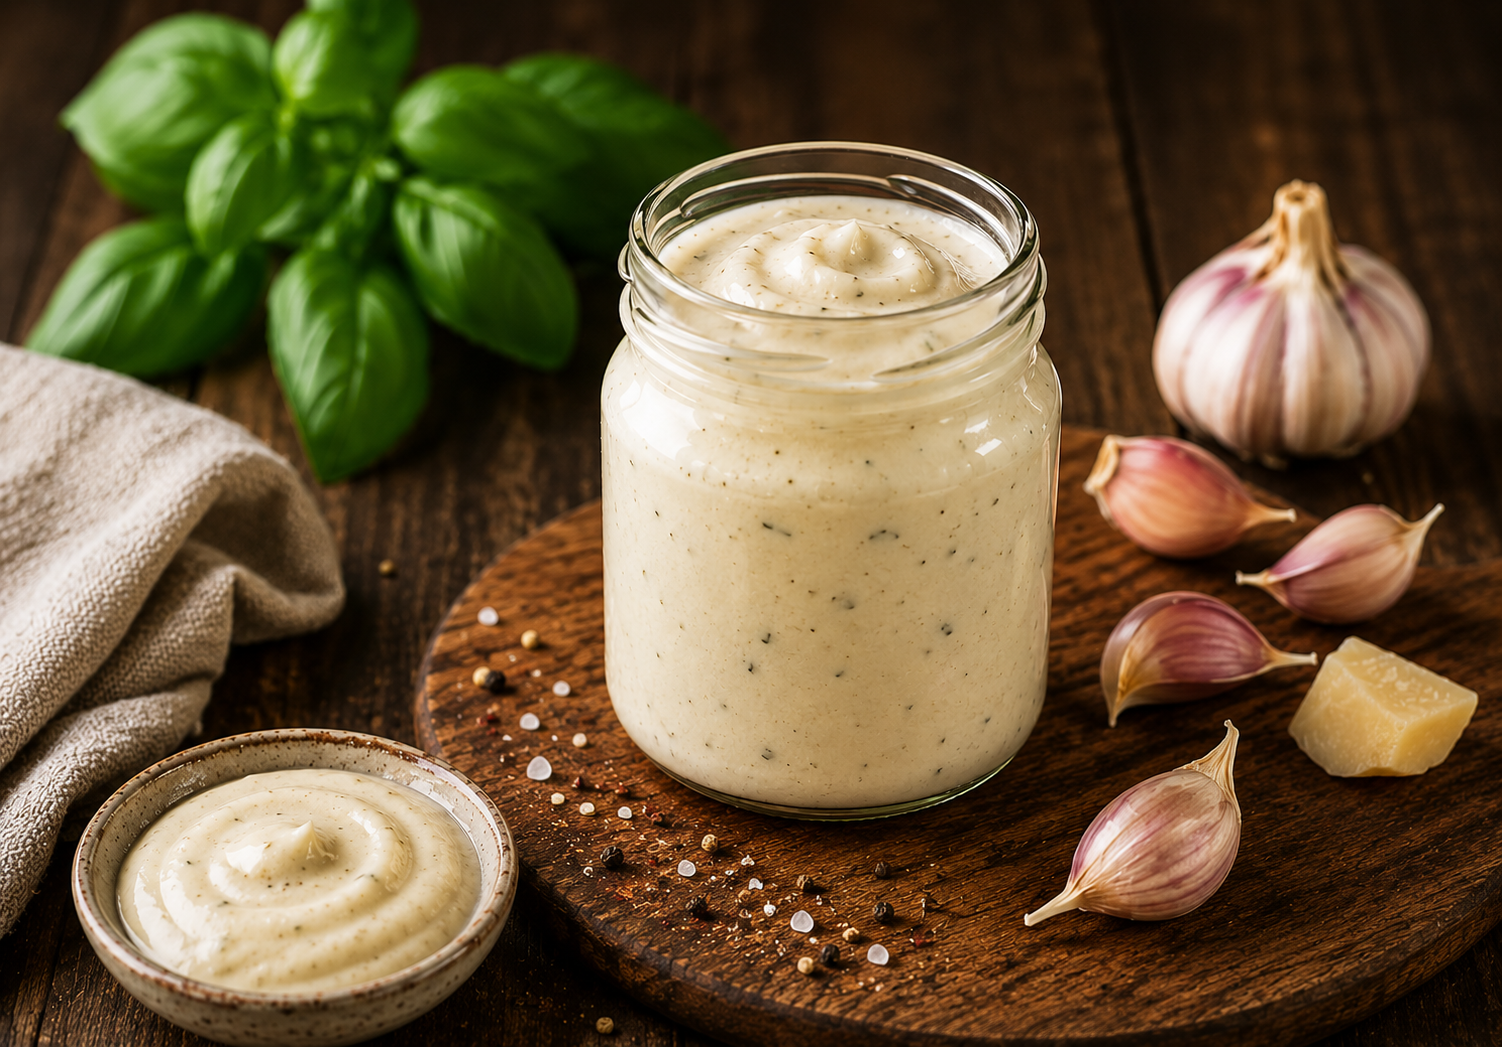
If you’ve ever had crispy fries, burgers, or roasted veggies and thought “this needs something extra” – this creamy garlic aioli is your answer. Rich, smooth, and packed with bold garlic flavour, it instantly turns everyday meals into something special (without the takeaway price tag).
The best part? You only need a handful of simple ingredients and a few minutes to whip it up at home. No fancy equipment, no complicated steps – just a quick, budget-friendly sauce that tastes like it came from your favourite café.
Whether you’re dipping, spreading, or drizzling, this garlic aioli is one of those go-to recipes you’ll keep coming back to again and again.
Quick Snapshot
- Yield: 1 cup (approx. 16 tablespoons)
- Prep Time: 5 minutes
- Cook Time: 0 minutes
- Total Cost to Make: ~$1.32 – $2.05 AUD per batch (Estimated)
- Cost Per Serve: ~$0.10 – $0.13 per tablespoon
- Serving Size: 1 tablespoon (perfect as a dip, spread, or drizzle)
- Key Takeaway: This homemade aioli is a budget-friendly way to add a rich, creamy garlic hit to everyday meals without paying premium deli prices. A small batch goes a long way, making it ideal for family dinners, burgers, wraps, and quick snack platters.
Why This Creamy Garlic Aioli Works!
This aioli works because it’s all about balance and simplicity. The creamy base (usually mayonnaise or a blended egg-and-oil emulsion) gives it that rich, silky texture, while fresh garlic brings a sharp, savoury kick that cuts through the fat so it never feels heavy.
A little acid-like lemon juice or vinegar—is what ties everything together. It brightens the flavour, lifts the richness, and gives that classic “restaurant-style” tang you expect from a good aioli. Without it, the sauce can feel flat; with it, everything pops.
What really makes this version stand out is how quickly the flavours develop. Even just a few minutes of resting time allows the garlic to mellow slightly and infuse through the sauce, turning it from simple ingredients into a bold, cohesive dip.
It’s also incredibly versatile. Because the base is neutral and stable, you can tweak it easily-add more garlic for punch, extra lemon for freshness, or even a pinch of salt to sharpen everything up. That flexibility is what makes it a staple you’ll keep coming back to.
If you love this homemade sweet chilli sauce, you’ll find plenty more flavour-packed ideas in our Sauces, Dips & Condiments collection – perfect for adding quick, budget-friendly flavour to everyday meals.
Budget Breakdown – What it Costs to Make this Recipe
Estimated Ingredient Cost in Australia as at May 31, 2026 – $1.32-$2.05 per batch, yields 1 cup
| Ingredient | Quantity | Estimated Cost |
| Mayonnaise | 3/4 Cup | $0.90-$1.20 |
| Garlic | 2 Cloves | $0.20 |
| Lemon Juice | 1 Tbsp | $0.10-0.15 |
| Olive Oil (Optional) | 1 Tbsp | $0.20- $0.35 |
| Salt & Pepper | Pinch | $0.02-$0.05 |
* Disclaimer: Ingredient costs are approximate and based on average Australian supermarket prices as at the date published. Actual costs may vary depending on store, location, brand and seasonal pricing. Provided for estimation purposes only and Saavy Family Kitchen takes no responsibility for the usage of these estimates.
Creamy Garlic Aioli (Easy 5-Minute Homemade Dip)
Ingredients
Method
- Add the mayonnaise to a medium mixing bowl and stir to loosen it slightly.
- Finely mince or crush the fresh garlic cloves, then add them to the bowl.
- Squeeze in the fresh lemon juice and add a pinch of salt and pepper.
- Whisk everything together until smooth, creamy, and fully combined.For an extra smooth texture, use a stick blender or small food processor.
- Taste and adjust seasoning if needed – add more lemon for tang or more garlic for punch.
- Let the aioli rest for 10–15 minutes before serving to allow the flavours to develop.
- Serve as a dip, spread, or drizzle over your favourite meals.
Notes
- Fresh garlic gives the best flavour, but you can adjust the amount depending on how strong you like it. Start small and build up.
- Letting the aioli rest for 10–15 minutes is highly recommended as it helps the garlic mellow and the flavours develop.
- For a smoother, restaurant-style texture, use a stick blender or small food processor instead of hand mixing.
- This recipe is based on a mayonnaise base for convenience, but traditional aioli is made by emulsifying garlic, egg yolk, and oil.
- Store in an airtight container in the fridge and use within 3–4 days for best freshness and flavour.
- Do not freeze, as the mixture will split and become grainy when thawed.
Tips for Perfect Creamy Garlic Aioli
Use fresh garlic, not powder
Fresh garlic is what gives aioli its signature punch. Garlic powder can taste flat and won’t give you that bold, slightly spicy kick that makes this sauce stand out.
Let it rest before serving
If you can, let the aioli sit for at least 10–15 minutes before serving. This gives the garlic time to mellow and infuse through the sauce, creating a smoother, more balanced flavour.
Adjust the garlic to your taste
Some garlic cloves are stronger than others, so always taste and adjust. Start with less if you prefer a mild flavour – you can always add more, but you can’t take it out once it’s in.
Balance with acid
Don’t skip the lemon juice (or vinegar). It cuts through the richness and stops the aioli from tasting heavy. A little extra squeeze can brighten everything up if it feels too thick or rich.
Whisk or blend for best texture
For a super smooth, restaurant-style finish, use a stick blender or food processor. If you’re mixing by hand, whisk thoroughly until the mixture is fully emulsified and creamy.
Store it properly
Keep aioli in an airtight container in the fridge and use within 3–4 days. The flavour actually improves slightly after a few hours, but it’s best enjoyed fresh.
Variations You Can Try
Roasted Garlic Aioli
Swap fresh garlic for roasted garlic to create a sweeter, more mellow version. The roasting process removes the sharp bite and gives a deep, caramelised flavour that works beautifully with chips, chicken, or roast vegetables.
Lemon Herb Aioli
Stir through finely chopped parsley, dill, or chives along with extra lemon zest. This version feels fresh and vibrant, perfect for seafood, grilled fish, or summer wraps.
Spicy Sriracha Aioli
Add 1–2 teaspoons of sriracha or your favourite hot sauce for a creamy heat kick. It’s ideal for burgers, loaded fries, or anything that needs a little spice.
Smoky Paprika Aioli
Mix in a pinch of smoked paprika for a warm, slightly smoky depth. This pairs especially well with grilled meats, BBQ dishes, and roasted potatoes.
Honey Garlic Aioli
Add a small drizzle of honey to balance the garlic with a touch of sweetness. It creates a sweet-savoury combo that works surprisingly well on chicken burgers or wraps.
Avocado Aioli
Blend in half a ripe avocado for an extra creamy, slightly green twist. It becomes thicker, richer, and more nutrient-dense—great as a spread for sandwiches or toast.
Why Your Creamy Garlic Aioli Might Not Turn Out (Common Mistakes)
Using pre-minced or powdered garlic as a shortcut
This is one of the biggest flavour letdowns. Pre-minced garlic lacks freshness and can taste harsh or slightly bitter. Fresh garlic gives the aioli its clean, punchy flavour, so it’s worth the extra minute to prep.
Adding too much garlic too quickly
It’s easy to go overboard, especially if you love garlic. But raw garlic intensifies as it sits, so what tastes “fine” at first can become overpowering later. Start small, taste, and build it up gradually.
Skipping the acid (lemon juice or vinegar)
Without acid, the aioli can taste heavy and one-dimensional. The lemon juice is what lifts everything, balances the richness, and gives that classic tangy finish.
Not emulsifying properly
If your aioli looks split or oily, it hasn’t been mixed enough. Take your time whisking or use a stick blender to bring everything together into a smooth, creamy texture.
Serving it straight away without resting
While you can eat it immediately, the flavour is noticeably better after 10–15 minutes. This resting time softens the garlic and helps everything blend into a more rounded taste.
Not seasoning enough (or over-salting)
Salt enhances the garlic and lemon, but it needs balance. Always add a little at a time and taste as you go to avoid overpowering the sauce.
Storage & Reheating
How to store garlic aioli
Store your aioli in an airtight container or jar and keep it in the fridge. Make sure it’s sealed well to prevent it from absorbing other fridge smells. Because it contains fresh garlic (and often egg or mayo as a base), it should always be kept cold.
How long it lasts
Homemade aioli is best enjoyed fresh, but it will keep for 3–4 days in the fridge. After this time, the flavour can become sharper and the texture may start to separate.
Can you freeze aioli?
Freezing is not recommended. The emulsion tends to split when thawed, resulting in a grainy, oily texture that won’t come back together properly.
Do you need to reheat it?
No reheating is required or recommended. Aioli is served cold or at room temperature. If it has thickened in the fridge, simply let it sit out for 5–10 minutes before serving and give it a quick stir to bring back its creamy consistency.
FAQ – Creamy Garlic Aioli
Can I make garlic aioli without eggs?
Yes and I usually do. Many modern versions use mayonnaise as the base instead of raw egg, which makes it quicker, easier, and safer while still giving you that creamy, rich texture.
Why is my aioli bitter?
Bitterness usually comes from using too much raw garlic or garlic that’s been over-processed. Letting the aioli rest for 10–15 minutes helps mellow the flavour. Roasting the garlic first is also a great fix.
Can I use bottled lemon juice instead of fresh?
You can, but fresh lemon juice gives a brighter, cleaner flavour. Bottled juice works in a pinch, but you may notice a slight difference in freshness.
Why did my aioli split or go runny?
This usually happens when ingredients aren’t emulsified properly or liquids are added too quickly. Whisk slowly and steadily, or use a stick blender for a stable, creamy texture.
How can I thicken my aioli?
If it’s too runny, add a little more mayonnaise and whisk again. Chilling it for 10–15 minutes can also help it firm up.
Is garlic aioli the same as garlic mayo?
They’re very similar, but traditional aioli is made by emulsifying garlic, oil, and egg yolk. Garlic mayo is a simplified version using mayonnaise as the base—like this recipe.
What can I serve garlic aioli with?
It’s incredibly versatile – perfect for chips, burgers, wraps, grilled chicken, seafood, roast veggies, and even as a sandwich spread.
Saavy Budget-friendly Ideas
This creamy garlic aioli is already budget-friendly, but here are a few smart swaps and hacks to make it even more cost-effective without losing flavour.
Use what you already have in the fridge
If you’ve got leftover mayo, half a lemon, or a few spare garlic cloves, this is the perfect “clean out the fridge” recipe. You can easily scale it down or up depending on what’s on hand.
Buy garlic in bulk and store it properly
Whole garlic bulbs are far cheaper than pre-minced jars. Store them in a cool, dry place and they’ll last for weeks, making every batch of aioli even cheaper.
Swap fresh lemon for bottled in a pinch
Fresh lemon gives the best flavour, but bottled lemon juice works if you’re trying to cut costs or reduce waste – especially if you only need small amounts.
Use home-brand mayonnaise
This is the biggest cost saver. Home-brand mayo delivers the same creamy base at a fraction of the price, and since it’s the main ingredient, it makes a noticeable difference to the total cost.
Make it in small batches
Instead of making large amounts that might go to waste, whip up just what you need for 1–2 meals. This keeps costs low and ensures everything tastes fresh.
Repurpose leftovers creatively
Leftover aioli doesn’t need to sit in the fridge unused – use it as a burger spread, mix it into mashed potatoes, drizzle over roasted veggies, or thin it slightly to make a quick salad dressing.
Stretch it further
Add a spoonful of plain yoghurt or sour cream if you want to bulk it out for dipping platters. It slightly lightens the flavour while doubling the volume for a crowd.
You Might Also Like:
- Loaded Nachos Casserole
- Garlic Parmesan Chicken Alfredo
- Roasted Carrot, Hallouni & Farro Salad
- One Pan Honey Mustard Chicken
Looking for other sauces and dips? Browse our Sauces, Dips & Condiments collection for more easy homemade flavour ideas.