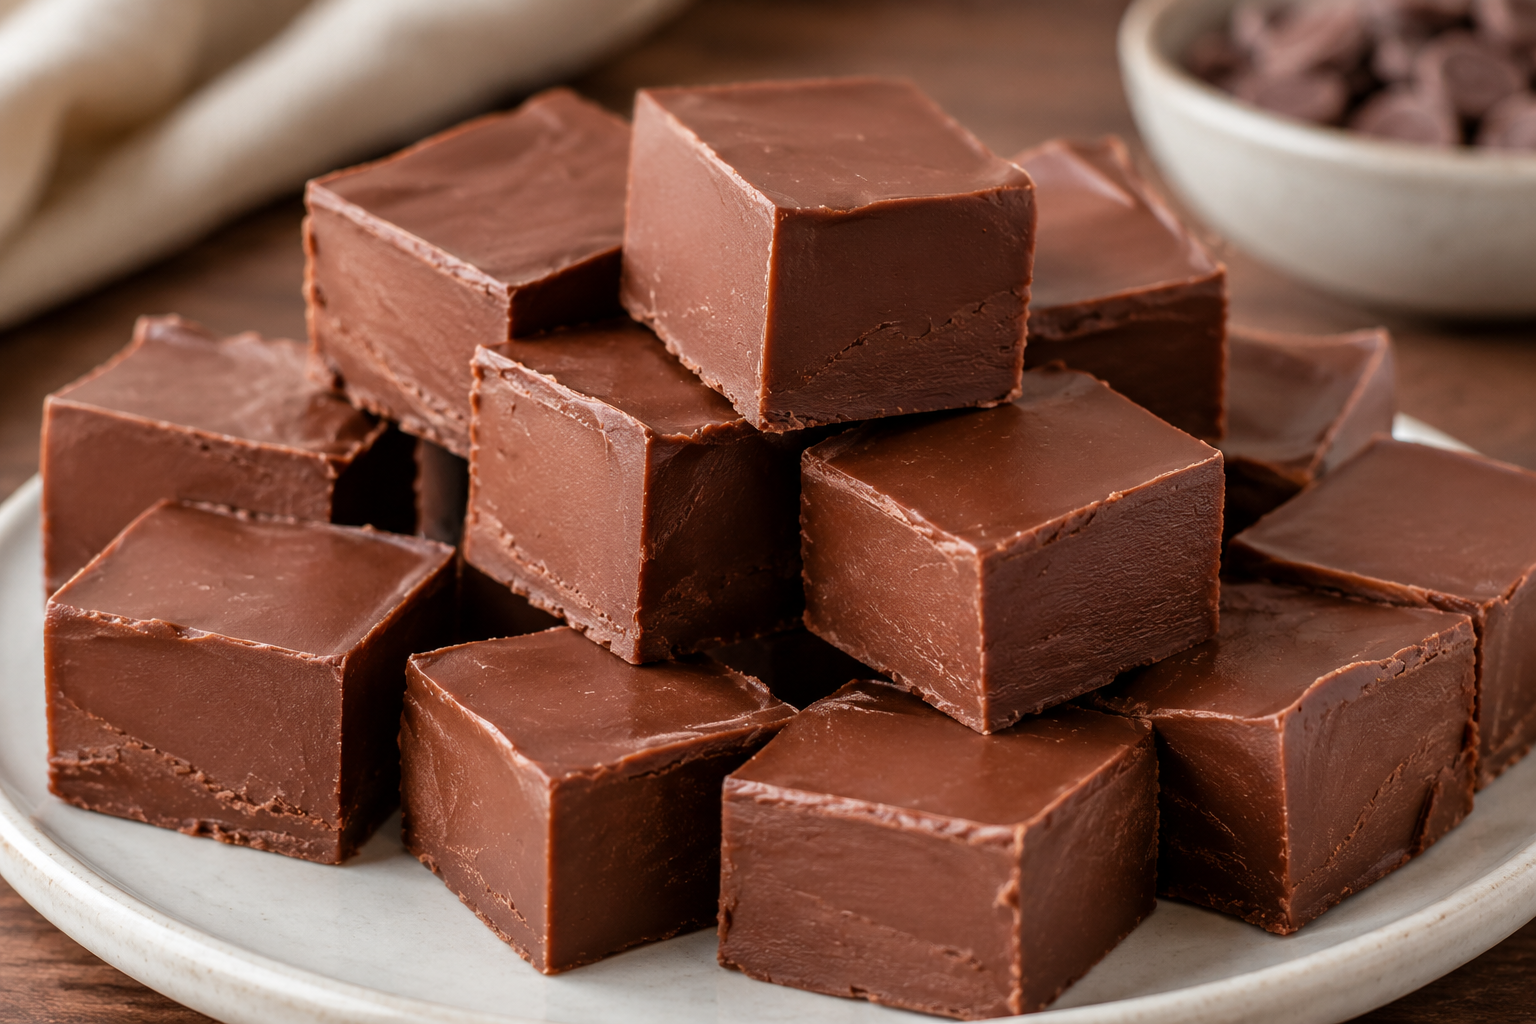
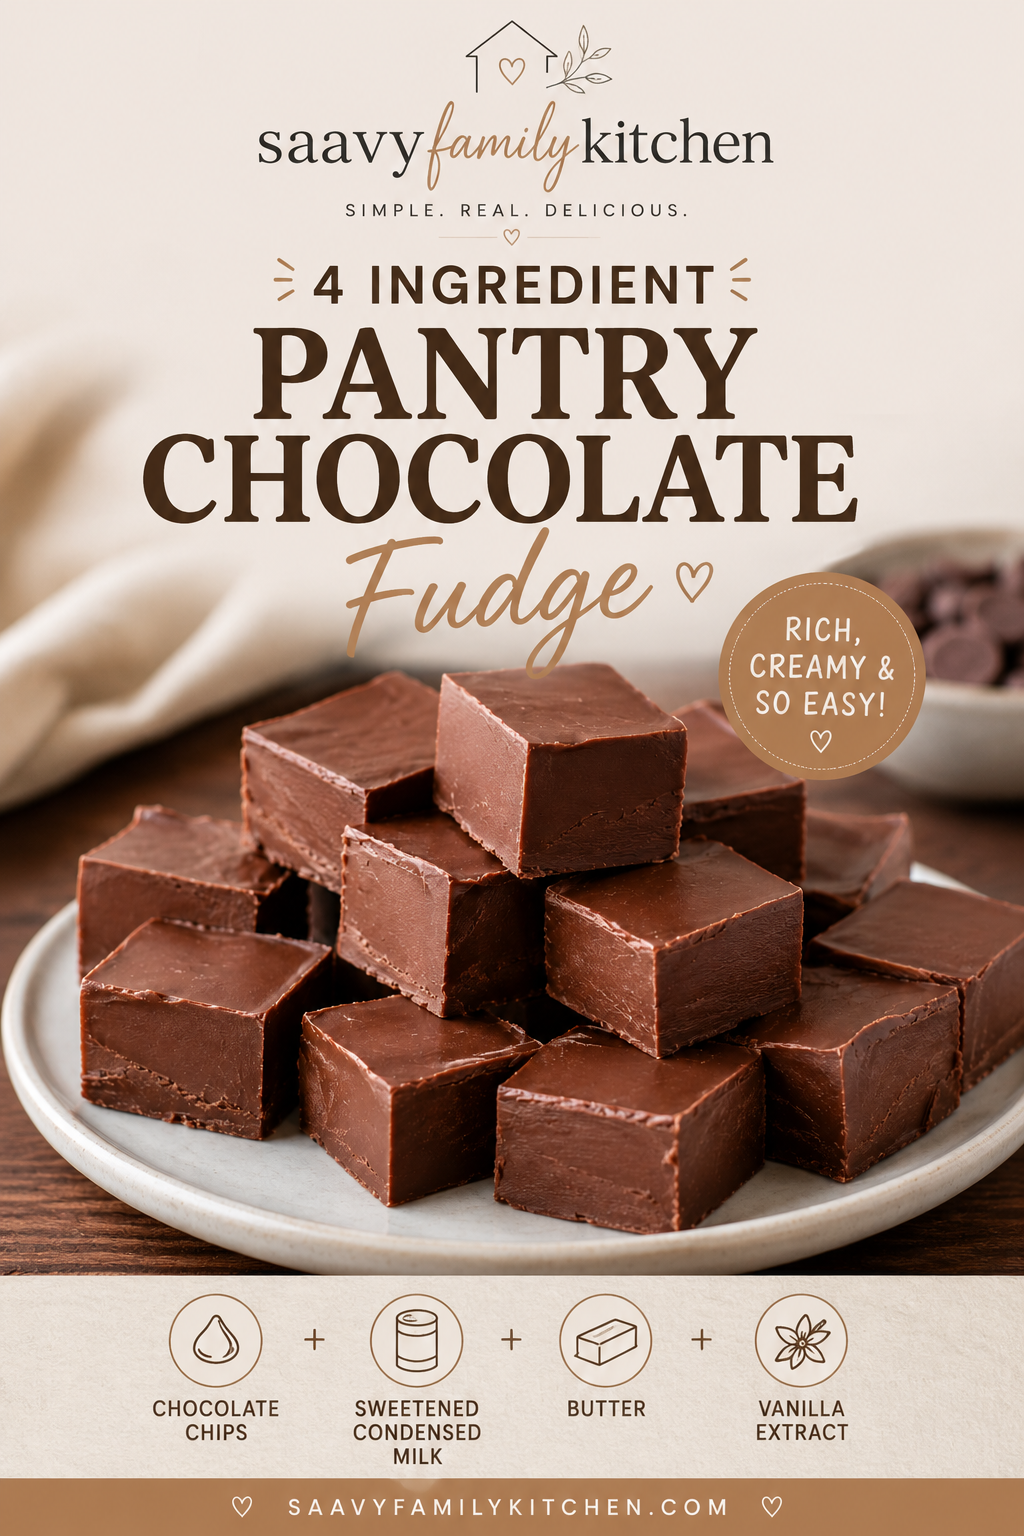
Rich, smooth, and deeply chocolatey, this 4 ingredient pantry chocolate fudge is the kind of recipe you pull out when you want something impressive without the effort. Made with simple staples you probably already have at home, it comes together in minutes on the stove and sets into perfectly soft, melt-in-your-mouth squares.
There’s no candy thermometer, no complicated steps, and no special equipment – just a quick melt, a stir, and a chill in the fridge. Whether you’re making a last-minute dessert, a homemade gift, or just a sweet treat to keep on hand, this fudge delivers that classic bakery-style richness with almost no fuss.
Quick Snapshot
- Prep time: 5–10 minutes
- Cook time: 5 minutes
- Chill time: 3–4 hours
- Total time: ~4 hours
- Difficulty: Easy
- Servings: 16–25 pieces
- Cost per batch: ~$7.80 – $11.30 AUD
- Cost per piece: ~$0.30 – $0.70
- Best for: Quick desserts, gifts, bake sales
- Storage: Refrigerate up to 2 weeks or freeze up to 2 months
Why This 4 Ingredient Pantry Chocolate Fudge Recipe Works!
This fudge works because it relies on a simple balance of fat, sugar, and chocolate to create a smooth, stable set without any complicated technique.
The sweetened condensed milk is doing most of the heavy lifting here—it’s thick, sugary, and already reduced, which means it helps the fudge set firmly while keeping it soft and creamy. The chocolate provides structure and that rich, deep flavour, while also solidifying as it chills. A small amount of butter adds extra silkiness so the texture feels smooth rather than grainy or stiff. Finally, vanilla rounds everything out and enhances the chocolate flavour.
Because everything is gently melted together (rather than boiled or overworked), the mixture stays glossy and emulsified. Once chilled, it firms up into that classic fudge texture: dense, creamy, and easy to slice without crumbling.
And, if you love easy to make other sweet treats that are super easy as well as tasty, then you’ll also enjoy our Desserts & Sweet Treats collection, filled with delicious baked snack ideas.
Budget Breakdown – What it Costs to Make this Recipe
This is a genuinely low-cost dessert that uses everyday pantry staples, making it perfect for budget baking, gifts, or feeding a crowd cheaply.
Estimated Ingredient Cost in Australia as at June 13, 2026 – $7.80-$11.30 per batch, $0.30-$0.70 per serve. Makes 16-25 pieces
| Ingredient | Quantity | Estimated Cost |
| Chocolate | 300g | $4.50-$6.50 |
| Sweetened Condensed Milk | 395g | $2.50-$3.20 |
| Butter | 2 Tbsp (~30g) | $0.40 |
| Vanilla Extract | 1 Tsp | $0.20-$0.60 |
* Disclaimer: Ingredient costs are approximate and based on average Australian supermarket prices as at the date published. Actual costs may vary depending on store, location, brand and seasonal pricing. Provided for estimation purposes only and Saavy Family Kitchen takes no responsibility for the usage of these estimates.
4 Ingredient Pantry Chocolate Fudge
Ingredients
Method
- Line an 18cm square baking tin with baking paper, leaving an overhang for easy removal.
- Place the chocolate, sweetened condensed milk, and butter into a small saucepan over low heat.
- Stir continuously until the mixture is fully melted, smooth, and glossy. Do not let it boil.
- Remove from heat and stir in the vanilla extract until well combined.
- Pour the mixture into the prepared tin and smooth the top evenly.
- Refrigerate for 3–4 hours, or until firm and fully set.
- Lift out of the tin using the baking paper and slice into small squares before serving.
Notes
- For best results, use good-quality chocolate, as it directly impacts flavour and texture.
- Keep the heat low and steady to avoid the chocolate splitting or becoming grainy.
- This fudge sets best when chilled for the full 3–4 hours (or overnight for cleaner slices).
- Cut into small squares as it is rich and very satisfying in small portions.
- For cleaner cuts, use a hot knife wiped dry between slices.
- Mix-ins like nuts, biscuits, or coconut should be added after melting, just before pouring into the tin.
- Store chilled for the best texture – this fudge softens quickly at room temperature, especially in warmer weather.
Tips for Perfect Pantry Chocolate Fudge
- Use good-quality chocolate if you can – It makes a big difference to flavour and gives a smoother, richer finish.
- Keep the heat low – Gentle melting prevents the chocolate from seizing or turning grainy.
- Stir constantly while melting – This helps everything emulsify into a glossy, even mixture.
- Don’t overcook – Once everything is just melted and smooth, take it off the heat straight away.
- Line your tin well – Baking paper with overhang makes it easy to lift the fudge out cleanly.
- Chill long enough – Give it at least 3–4 hours so it sets properly before slicing.
- Use a hot knife for clean cuts – Run your knife under hot water and wipe between slices for neat squares.
- Cut small pieces – This fudge is rich, so smaller squares go further and feel more satisfying.
Variations You Can Try
This fudge is incredibly easy to customise, so once you’ve mastered the base recipe, you can switch things up with different flavours and mix-ins to suit whatever you’re craving.
- Sea salt chocolate fudge – Sprinkle flaky sea salt over the top before chilling for a sweet-salty finish.
- Nutty fudge – Stir through chopped almonds, walnuts, or peanuts for extra crunch.
- White chocolate swirl – Swirl melted white chocolate through the top layer before setting for a marbled effect.
- Mint chocolate fudge – Add ½ tsp peppermint extract for a refreshing after-dinner version.
- Biscoff fudge – Swirl in a few spoonfuls of melted Biscoff spread for a caramelised biscuit flavour.
- Coconut fudge – Mix in shredded coconut for a tropical twist.
- Cookies and cream – Fold in crushed chocolate sandwich biscuits before setting.
- Espresso boost – Add 1 tsp instant coffee for a deeper, richer chocolate flavour.
Why Your 4 Ingredient Pantry Chocolate Fudge May Not Turn Out
Even though this fudge is simple, a few small missteps can affect the final texture.
- Overheating the mixture – If the chocolate gets too hot or boils, it can seize or turn grainy instead of smooth.
- Not stirring enough – Uneven mixing can leave streaks of unmelted chocolate or cause the mixture to split.
- Wrong chocolate choice – Low-quality or compound chocolate can affect how well the fudge sets and how creamy it tastes.
- Skipping the chill time – Cutting it too early can result in soft, messy squares that don’t hold their shape.
- Incorrect ratios – Too much condensed milk can make the fudge too soft, while too much chocolate can make it overly firm or dry.
- Moisture getting in – Even a small amount of water can cause chocolate to seize and ruin the texture.
If you want to troubleshoot more than just candy, explore our full guide to common cooking problems and easy kitchen fixes for simple solutions that actually work.
Storage & Reheating
Storage:
Store the fudge in an airtight container in the fridge. It will keep well for up to 2 weeks while staying firm and fresh. For best results, place baking paper between layers to stop pieces sticking together.
Freezing:
Fudge freezes really well. Wrap tightly or store in a sealed container and freeze for up to 2 months. Thaw in the fridge overnight before serving.
Serving tip:
This fudge is best enjoyed chilled or at room temperature for a softer bite.
Reheating:
Reheating isn’t usually needed, but if you prefer a softer texture, leave pieces at room temperature for 10–15 minutes before serving. Avoid microwaving, as it can melt the structure and make it oily or grainy.e.
FAQs About Pantry Chocolate Fudge
Can I use dark chocolate instead of milk chocolate?
Yes. Dark chocolate will give a richer, less sweet fudge. You can also mix dark and milk chocolate for a balanced flavour.
Why is my fudge grainy?
This usually happens if the chocolate was overheated or if even a small amount of water got into the mixture. Keep heat low and stir gently.
Can I make this without condensed milk?
Not for this exact recipe. Sweetened condensed milk is what helps the fudge set and gives it its creamy texture.
How do I know when it’s set?
The fudge is ready when it feels firm to the touch and holds its shape when cut. This usually takes 3–4 hours in the fridge.
Can I double the recipe?
Yes, just use a larger pan so the fudge still sets evenly and isn’t too thick in the centre.
Do I have to refrigerate it?
Yes, for best texture and shelf life. At room temperature it will soften too much, especially in warmer climates.
Can I add mix-ins like nuts or biscuits?
Absolutely. Just fold them in after melting the base mixture and before pouring into the tin.
Saavy Budget-friendly Ideas
Here are a few simple ways to keep this fudge even more budget-friendly while still getting that rich, indulgent result.
- Use store-brand chocolate – Baking blocks or chips from Aldi/Coles/Woolworths work perfectly and cut costs without affecting texture too much.
- Buy condensed milk on special – It often goes on sale, and stocking up makes this recipe even cheaper per batch.
- Stretch it further – Cut into smaller bite-sized pieces so one batch serves more people for less cost per serve.
- Turn it into gift boxes – Package small squares in paper cups or jars for low-cost homemade gifts instead of buying expensive presents.
- Add bulk with cheap mix-ins – Coconut, oats, or broken biscuits are inexpensive ways to make the batch go further.
- Make it for bake sales – High perceived value means you can sell small portions at a good margin.
- Freeze leftovers immediately – Prevents waste and lets you enjoy it over time instead of letting it spoil.
- Double only when ingredients are on special – Scale up when chocolate or condensed milk is discounted to maximise savings.
You Might Also Like:
- 3 Ingredient Brown Sugar Milo Cookies
- Easy Chocolate Chip Cookies (No Mixer)
- Soft Brown Sugar Cookies
- Quick Chocolate Mug Cake (1 Minute Dessert)
- 3 Ingredient Peanut Butter Cookies
Still craving something sweet? Discover more easy desserts and sweet treats in our main recipe hub packed with quick, budget-friendly baking ideas.